

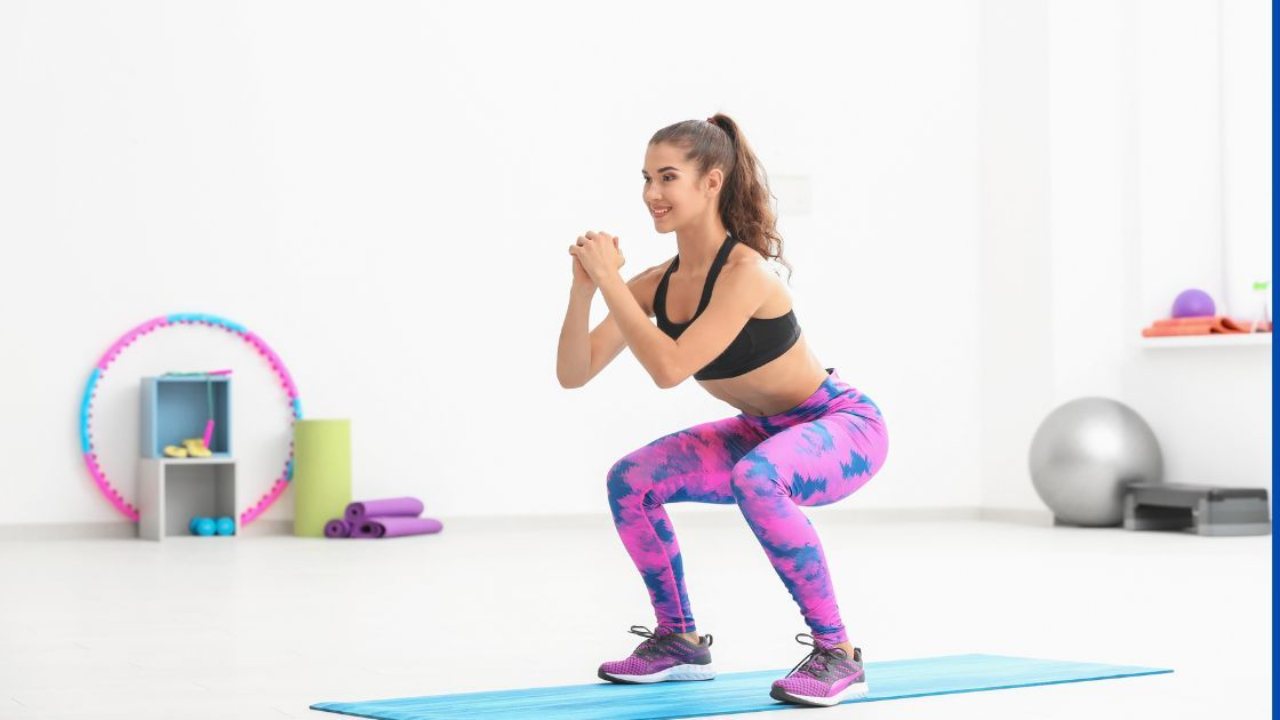
NASM Overhead Squat Assessment Part 2: How to Identify Movement Compensations During the OHSA
Jul 23, 2026NASM Overhead Squat Assessment Part 2: Learning to Recognize Movement Compensations
In Part 1 of this series, we covered how to perform the NASM Overhead Squat Assessment. You learned the proper client setup, how many repetitions to perform, where to stand during the assessment, and which kinetic chain checkpoints should be evaluated from the anterior and lateral views.
Now it's time to answer the question every NASM student eventually asks:
"What exactly am I looking for?"
This is where corrective exercise begins to make sense.
Many students open the NASM textbook and immediately begin memorizing long tables of overactive muscles, underactive muscles, stretching techniques, and strengthening exercises. While all of that information is important, it becomes much easier to understand when you start with the movement itself.
Think about how a physician works.
They don't begin by prescribing treatment.
They first identify the problem.
The Overhead Squat Assessment works exactly the same way.
You observe movement.
You identify the compensation.
Then you determine the likely muscle imbalance.
Finally, you select the appropriate corrective exercise.
That process is the foundation of the entire NASM Corrective Exercise Continuum.
If you understand the movement, the rest becomes much easier.
Download the FREE Muscle Compensation Chart
Before you continue, download the FREE NASM Muscle Compensation Chart.
The chart summarizes every movement compensation covered throughout this series, including the common overactive and underactive muscles you'll need to recognize for the NASM CPT exam.
➡ Download the FREE Muscle Compensation Chart
Watch the Video
Prefer watching the movement first?
Watch Overhead Squat Assessment Part 2 on YouTube, then return to this guide for expanded explanations and additional study tips.
➡ Watch Overhead Squat Assessment Part 2 on YouTube
Why Videos Teach Movement Better Than Pictures
One of the first points I always make when teaching the Overhead Squat Assessment is that the pictures in the NASM textbook are good—but movement is better.
Static images capture a single moment in time.
Movement assessments are dynamic.
When you watch someone squat, you can observe:
- When a compensation begins.
- Whether it worsens as they descend.
- Whether it occurs immediately or only near the bottom of the squat.
- How one movement compensation influences another.
That's why I strongly recommend watching demonstrations in addition to studying the textbook. Seeing the movement in real time makes it much easier to recognize those same patterns when you're working with clients or answering questions on the NASM CPT exam. This emphasis on learning from motion rather than still images is one of the first teaching points in the Part 2 video.
Start by Looking at Proper Technique
Before you can identify movement compensations, you need to recognize what a quality squat looks like.
In the demonstration, notice several important details before the client even begins descending.
The arms are fully overhead.
Ideally, they should remain close to the ears throughout the movement.
The closer the arms stay to the ears, the easier it becomes to recognize compensations later in the assessment.
If the arms can't be raised overhead, that is already a movement compensation you'll learn later in this series.
The key idea is that you first establish what "normal" looks like before trying to identify what changed.
Movement Compensation #1: Feet Turn Out
The first movement compensation to evaluate is one of the most common you'll see on both the NASM CPT exam and in real clients:
Feet Turn Out
Begin by looking at the client's starting position.
Their toes should begin essentially pointing forward.
As they descend into the squat, continue watching the feet.
Do they remain pointing forward?
Or...
Do they rotate outward?
If the feet turn outward during the squat, you've identified a movement compensation.
This compensation can develop gradually during the descent, which is one reason videos are so valuable. A still image may show the final position, but it doesn't reveal when the movement began or how it progressed throughout the squat.
Why This Matters
One of the biggest mistakes people make is assuming that squatting with the feet turned outward is normal simply because they've seen it done in gyms for years.
In reality, many people have been coached to squat this way for decades.
Unfortunately, common does not always mean correct.
When the feet rotate excessively outward, the alignment of the knees changes significantly.
Instead of maintaining proper tracking, unnecessary stress is placed on the knee joint.
The movement becomes less efficient, and the body begins relying on compensations rather than proper mechanics.
As discussed in the video, this is especially important to recognize because many people have been conditioned to think that this is how a squat should look.
What About Sumo Squats?
This is an important distinction.
Some exercises intentionally use a wider stance with the feet turned outward.
A sumo squat is one example.
That does not mean the standard Overhead Squat Assessment should be performed that way.
The OHSA is a standardized assessment, with feet shoulder-width apart, toes pointing forward.
Every client should begin with essentially the same stance so movement can be evaluated consistently.
Don't confuse a purposeful exercise variation with a movement compensation observed during an assessment.
A Coaching Tip
Rather than trying to estimate degrees of external rotation during the assessment, keep your coaching simple.
Ask yourself:
"Did the feet stay forward?"
If the answer is no, you've identified the compensation.
You'll learn exactly why this happens and which muscles are commonly involved in the next three articles devoted entirely to Feet Turn Out.
Movement Compensation #2: Knees Cave In
After evaluating the feet, shift your attention upward to the knees.
One of the easiest ways to assess knee position is to imagine drawing a straight vertical line from the center of the kneecap toward the foot.
During an ideal squat, the knees should remain aligned over approximately the second and third toes throughout the entire movement.
If the knees begin drifting inward during the descent, you've identified one of the most common movement compensations seen during the Overhead Squat Assessment.
This compensation is commonly referred to as knees cave in or knee valgus.
One important point I emphasize in the video is that you don't have to make this complicated.
You don't need a goniometer.
You don't need to calculate exact joint angles.
Simply watch the relationship between the knees and the feet.
If the knees remain tracking over the feet, alignment is generally appropriate.
If they collapse toward one another, you've identified a movement compensation that you'll investigate further later in the corrective exercise process.
Think of the Legs as One Continuous System
A mistake many students make is looking at the feet and knees as separate body parts.
Instead, think of them as one continuous kinetic chain.
If the feet change position...
The knees often respond.
If the knees move inward...
The hips are affected too.
Very rarely does one joint compensate completely independently.
That's one reason the Overhead Squat Assessment is so valuable.
Rather than evaluating isolated muscles, you're observing how the entire kinetic chain works together during movement.
This systems-based approach is one of the defining characteristics of NASM's corrective exercise philosophy.
Don't Jump to the Muscles Yet
This is where students often get ahead of themselves.
The moment they recognize knees caving inward, they immediately begin asking:
"Which muscles are overactive?"
Slow down.
At this stage of the assessment, your only responsibility is recognizing the movement flaw.
The corrective exercise process happens later.
Think of the assessment as gathering information.
You're collecting clues before making conclusions.
Professional trainers don't guess.
They observe.
Then they interpret.
That habit will make you a better trainer and also improve your performance on the NASM CPT exam.
We'll Explore "Feet Turn Out" and "Knees Cave in" in Much Greater Detail
This article is simply introducing the movement compensation.
In the next sections of this blog series, we'll devote six complete articles to feet turning out and knees caving inward.
For each compensation, we'll discuss:
- Why it occurs
- The common muscle imbalance patterns associated with it
- How to evaluate it more confidently
- Corrective exercise strategies
- Coaching cues
- Common mistakes trainers make
By separating each compensation into its own guide, you'll develop a much deeper understanding than simply memorizing a chart.
What Does a Good Squat Actually Look Like?
Sometimes the easiest way to identify poor movement is to first understand quality movement.
During a properly performed Overhead Squat Assessment, you should observe several consistent characteristics.
The client begins with:
- Feet approximately shoulder-width apart.
- Arms overhead.
- Eyes looking forward.
- Neutral posture.
As they descend:
- The feet remain essentially forward.
- The knees continue tracking over the second and third toes.
- The hips lead the movement (glute dominance).
- The torso remains relatively locked.
- The arms stay close to the ears.
None of these positions need to be absolutely perfect.
Human movement always involves small individual differences.
The goal is to recognize obvious compensations, not microscopic imperfections.
One point emphasized in the video is that learning what "good" movement looks like makes recognizing abnormal movement much easier.
Movement Compensation #3: Excessive Forward Lean
After observing the lower body from the anterior view, move to the lateral view.
One of the most recognizable compensations from the side is excessive forward lean.
Rather than leading with their glutes (as if sitting back into a chair), the client leans forward to drop into the squat.
It's possible to mistake this for proper squat technique because they're still reaching squat depth.
However, depth alone doesn't determine movement quality.
Ask yourself:
Is the client lowering into a properly aligned squat...
Or are they simply over bending at the waist?
Those are two very different movements.
A proper squat distributes movement through the ankles, knees, hips, and trunk and is led by the hips via the glutes.
An excessive forward lean shifts much more of the movement toward the trunk while reducing the quality of the squat itself.
As discussed in the video, comparing a quality squat beside one with excessive forward lean makes this compensation much easier to recognize.
Why the Assessment Is Always Performed the Same Way
Students occasionally ask why NASM insists on such a standardized assessment.
Why not allow everyone to squat however they naturally prefer?
Because assessments need consistency.
If every client used:
- Different foot positions
- Different arm positions
- Different squat depths
- Different viewing angles
Comparing movement would become almost impossible.
Standardization removes variables.
That allows trainers to identify movement compensations much more consistently from one client to the next.
Common Mistakes Students Make
Trying to Memorize the Muscle Tables First
Movement comes first.
Interpretation comes second.
Correction comes third.
Looking Everywhere at Once
Follow the same sequence every assessment.
Anterior (front view).
Then lateral (side view).
Lower body first.
Upper body second.
Consistency improves accuracy.
Thinking Every Squat Is the Same
An exercise variation like a sumo squat is not the same as the standardized Overhead Squat Assessment.
Don't confuse training techniques with assessment procedures.
Becoming Too Focused on Tiny Details
Remember...
The goal is to identify meaningful movement compensations.
Don't become distracted trying to estimate tiny changes in joint angles that have little practical significance. Later, you'll gain the experience and comfort to get more dialed in when needed.
NASM CPT Exam Tips
When studying the Overhead Squat Assessment, don't memorize isolated facts.
Instead, think in this sequence:
Assessment
↓
Movement Compensation
↓
Likely Muscle Imbalance
↓
Corrective Exercise
If you understand that progression, many corrective exercise questions become much easier because you're thinking like a trainer rather than memorizing disconnected information.
Continue the Series
Now that you've learned how to identify the major movement compensations during the Overhead Squat Assessment, it's time to examine each one individually.
Next Article:
➡️ Feet Turn Out – Part 1: Why Your Feet Rotate During the Overhead Squat Assessment
Then continue with:
- Feet Turn Out – Part 2
- Feet Turn Out – Part 3
- Knees Cave In – Part 1
- Knees Cave In – Part 2
- Knees Cave In – Part 3
- Low Back Arches – Part 1
- Low Back Arches – Part 2
- Low Back Arches – Part 3
Each guide expands on one specific compensation, explains the biomechanics behind it, and connects it to the overactive and underactive muscles you'll need to understand for both the NASM CPT exam and real-world client assessments.
Frequently Asked Questions
Is it normal for someone's feet to turn out during a squat?
A slight amount of natural external rotation may occur, but noticeable feet turning outward during the standardized Overhead Squat Assessment is considered a movement compensation that deserves further evaluation (turnout >15 degrees).
Why should the knees stay over the second and third toes?
This alignment generally reflects efficient lower-extremity mechanics during the squat and provides an easy visual checkpoint during the assessment. If your knees aren't in line with your toes, they are absorbing excess (unintended) stress.
Why doesn't NASM teach the muscles first?
Because movement assessment drives the corrective exercise process. Recognizing the compensation first makes the associated muscle imbalance patterns much easier to understand and remember.
Should I memorize every compensation before taking the NASM exam?
Focus first on recognizing movement. Once you can consistently identify compensations during the assessment, the muscle imbalance tables become much easier to learn.
Download Your Free Study Resources
📄 Download the FREE Muscle Compensation Chart to reinforce every movement compensation covered in this series.
🎥 Watch the Complete Muscle Imbalance Playlist for video demonstrations of each compensation.
📝 Continue to Feet Turn Out – Part 1 to learn why this compensation occurs and how to recognize the associated muscle imbalance patterns.
🧪 Take the FREE NASM Practice Test to assess your understanding of corrective exercise and movement assessments.
🎓 Need More Help Preparing for the NASM CPT Exam? Explore the complete CPT Academy Prep Course for in-depth video instruction, quizzes, and guided study resources.
Don't miss a beat!
New moves, motivation, and classes delivered to your inbox.
We hate SPAM. We will never sell your information, for any reason.
Author